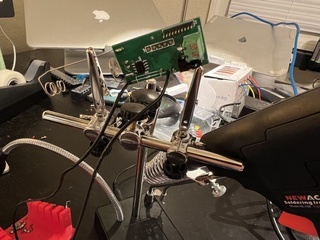
In my last post about building the pet feeders, I alluded to one of the limitations of the Raspberry Pi has: it lacks a real time clock. This is an understandable omission. They take up extra space and cost, are not needed for a lot of applications and can be pretty easily added if they are.
One of the limitations I found is that, if there is a power outage that lasts a significant amount of time - long enough for the UPS batteries that keep the wireless up go dead, for instance - that the Raspberry Pi’s may “lose” track of time if they can’t reconnect to wifi and, thus, sync up by NTP.
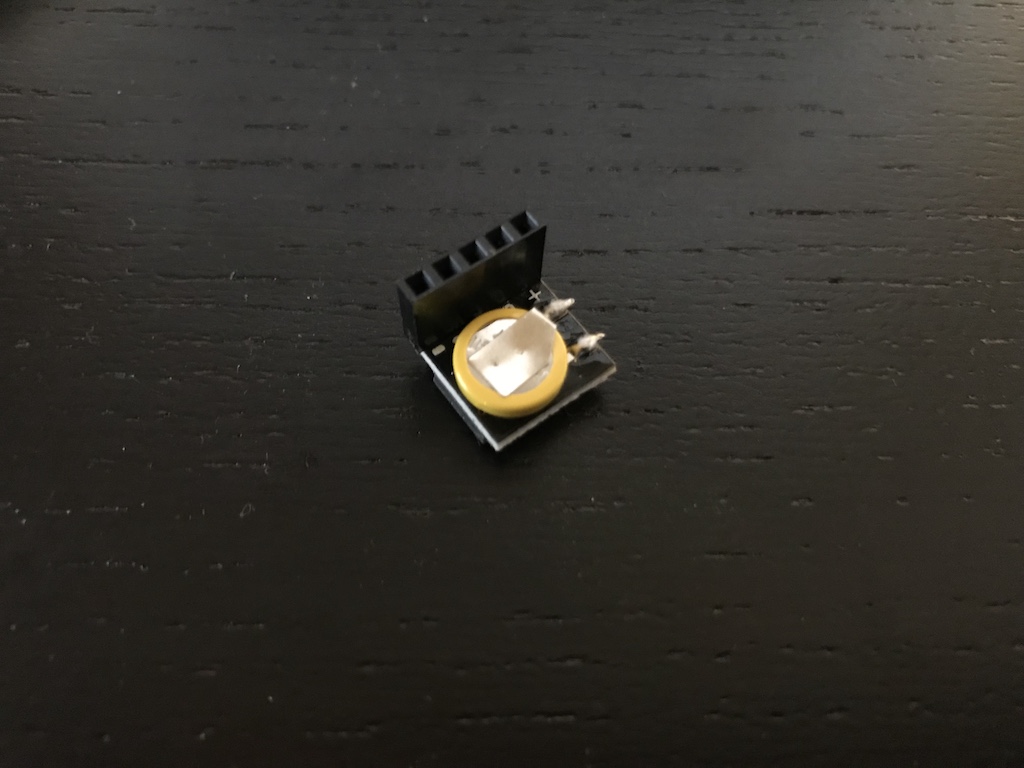
So I picked up a pair of these DS3231 RTCs from Amazon for about $5 each. This is how to get them to work on your Raspberry Pi.
-
Install Raspbian as usual.
-
Remove the
fake-hwclockpackage. This is not strictly necessary, but probably a good idea. We’re installing a real hwclock after all. :)sudo apt remove fake-hwclock -
Edit
/boot/config.txtand add the following option to the end of it:dtoverlay=i2c-rtc,ds3231 -
Edit
/lib/udev/hwclock-setand comment out the following lines:#if [ -e /run/systemd/system ] ; then # exit 0 #fi -
Power down your Raspberry Pi.
-
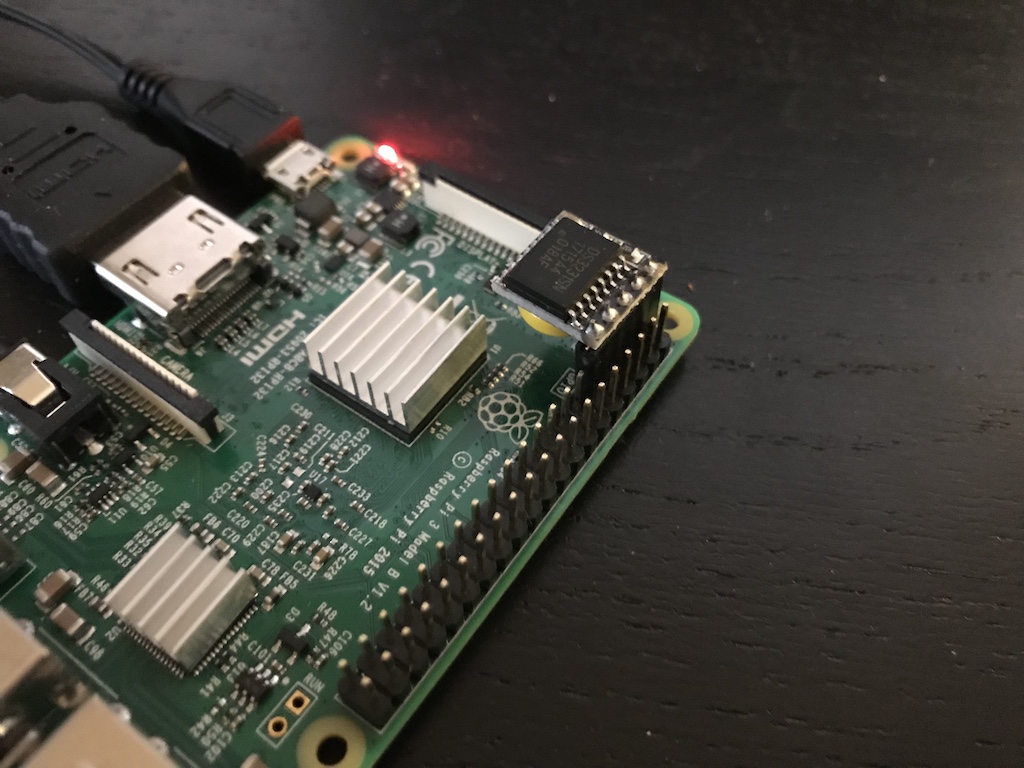
Install the DS3231 over pins 1, 3, 5, 7 and 9. The picture below illustrates the installation.
-
Power the Raspberry Pi back up.
-
Type
sudo hwclock -r. If you see something similar to:2017-12-01 21:39:21.988465+0000You’re good to go. It’s now reading time from the hardware clock.
Now, on a clean shutdown, it should automatically write the current system time to the hwclock. But what about an unclean shutdown. Like, perhaps, one that comes as a result of a power outage? Well, what we can do is be sure to sync the system and hardware clocks on a schedule.
-
Remove the old
/etc/cron.hourly/fake-hwclockjob.sudo rm /etc/cron.hourly/fake-hwclock -
Add a new hourly cronjob that syncs up the clocks.
 sudo touch /etc/cron.hourly/hwclock
 sudo chmod +x /etc/cron.hourly/hwclock
 sudo vi /etc/cron.hourly/hwclock
And add the following lines to it:
 #!/bin/sh
 /sbin/hwclock --systohc
Special thanks to this thread, which covers much of the installation details.
Update August 2020
So we had another long power outage this morning and, surprisingly, the feeders did not come back with the correct time. And in doing a postmortem on what happened, I discovered that the system was not reading the hardware clock on boot.
The clue was in this not-too-helpful systemd error message:
System clock time unset or jumped backwards, restoring from recorded timestamp: Thu 2020-08-06 01:13:39 CDTTurns out there is nothing that actually reads the hwclock back to the system on boot. So I added a systemd unit to do this:
[Unit]
Description=Sync hwclock to system
Before=systemd-timesyncd.service

[Service]
User=root
Type=oneshot
ExecStart=/sbin/hwclock --hctosys

[Install]
WantedBy=multi-user.target