Proxying CUPS IPP using nginx

This is an old post!

This post is over 2 years old. Solutions referenced in this article may no longer be valid. Please consider this when utilizing any information referenced here.

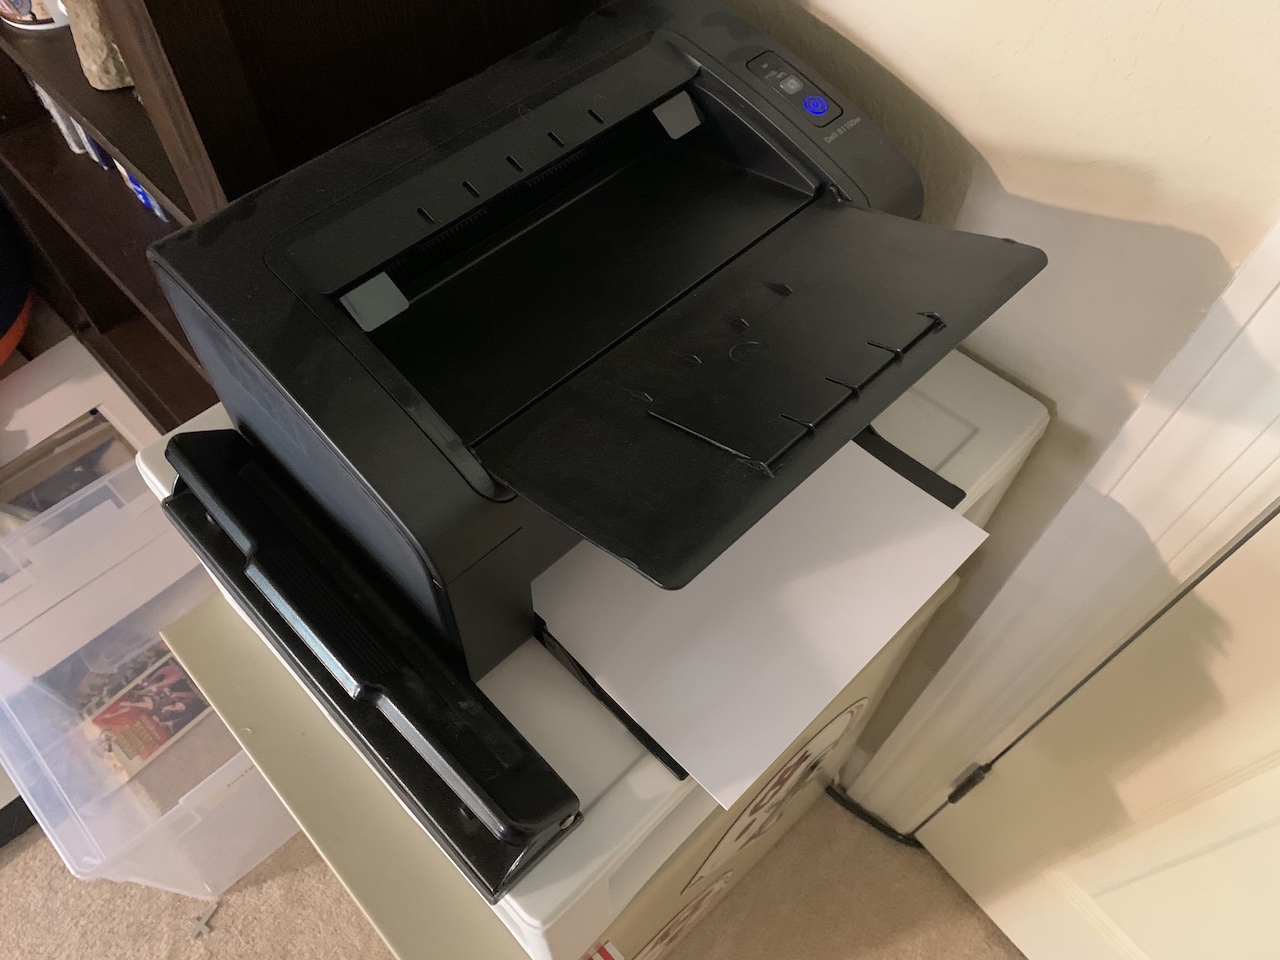
So I have this older Dell laser printer, a B1160w. It was released back in 2012, but it is a totally fine home printer for when I occasionally need to print something and it still works great after all these years, so I see no compelling reason to buy a new one.

But there’s a problem: macOS support. Namely, no drivers have been released for macOS since 2017. Starting with Catalina, Apple started requiring code signing for executables, and the official Dell driver has an executable in it that refuses to execute because it isn’t signed. And despite my best efforts, short of turning off Gatekeeper entirely, I was not able to get it to work.

But the printer itself is fine; there is absolutely no reason to create additional electronic waste purely for software reasons. But thanks to open-source software, we have another options: CUPS.

Configuring the CUPS and the Printer

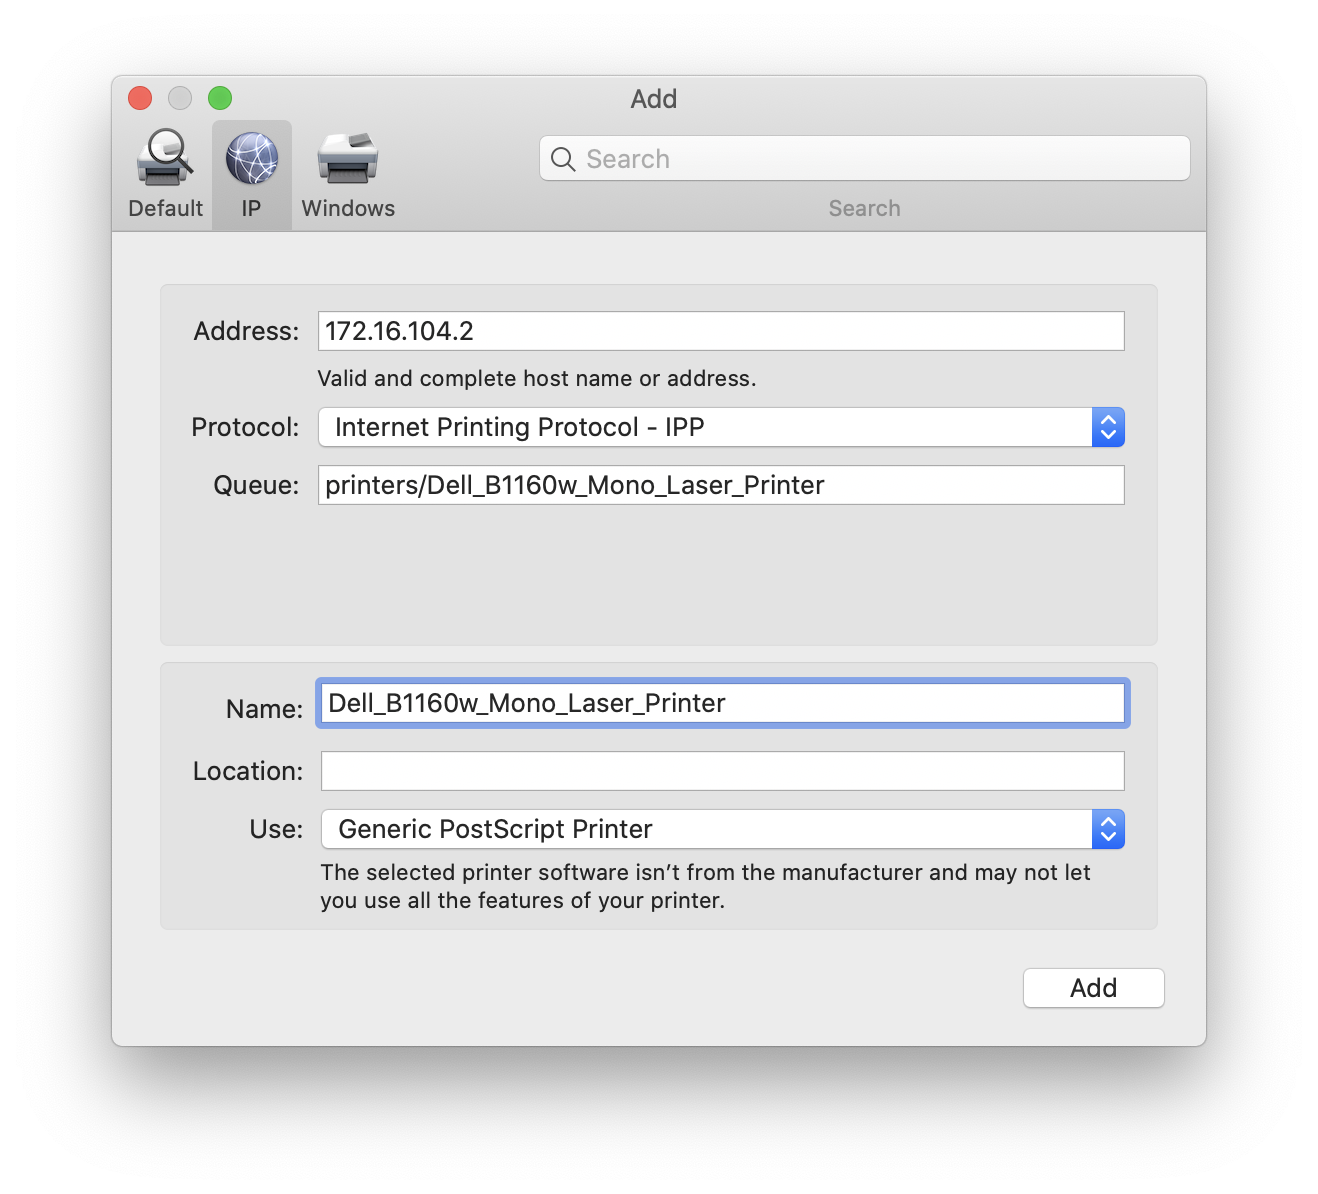
Being that I am moving a lot of things to Docker, I decided to run a CUPS Docker image on one of my servers. Configuring the Dell printer was very straightforward, as the Linux driver is still available. Setting it up in macOS was a bit of a challenge mostly because the GUI for adding network CUPS printers is very obtuse (especially when you consider that macOS is using CUPS beneath the GUI). Basically the settings for a CUPS printer are as follows:

  • IP Printer (tab at top)
  • Address: the IP address of your CUPS server
  • Protocol: IPP
  • Queue: “printers/” + the printer name in CUPS
Configuration for a CUPS IP printer in macOS.

The last item was what tripped me up. It is absolutely not clear anywhere that you had to prepend “printers/” to the name. I only stumbled on it through trial and error.

So now you should be able to print a file and everything works great! Except that I hate hard-coding IP addresses. I would much rather use something like “printers.internal.domain” instead. But if you try that, you’ll quickly notice that pretty much everything breaks. And this is because of some security settings in CUPS.

Proxying Requests

CUPS config looks a lot like Apache, so if you are familiar with Apache configs the format should be familiar. Notably, there is a ServerAlias setting that needs to be set if you are going to use hostnames. Otherwise it will answer with either Bad Request or ask for authentication. And because I am using a Docker image, adding this setting to the image requires one of a couple different approaches.

  1. You could just store the entire cupsd.conf file outside and mount it as a volume into the image. This is perhaps the easiest, but the problem is that if the image changes in the future, your config might be out of date.

  2. You could create your own Docker image based on the CUPS image, which would be a simple 2-line file that FROM‘d the CUPS image and then ran cupsctl ServerAlias=*. The downside is that you now have to maintain this image instead of just pulling the most recent from Docker Hub.

I decided to take a third approach: I decided to use nginx, my Swiss Army knife, to proxy the requests to CUPS. And best of all: because IPP is just HTTP with some additions, nginx is perfectly capable of handling this as well!

I used Docker Compose to configure the image as follows:

version: '3'
services:
  cups:
    container_name: cupsd
    image: olbat/cupsd
    volumes:
      - /var/run/dbus:/var/run/dbus
      - /var/lib/cupsd/printers.conf:/etc/cups/printers.conf
      - /var/lib/cupsd/ppd:/etc/cups/ppd
    ports:
      - "127.0.0.1:6631:631"

Note that I am mapping port 6631 to 631 inside the container. That is the IPP port that also answers to web requests as well.

With that, we can use the following nginx config:

server {
    listen 80;
    listen 631;
    server_name printers.internal.domain;

    location / {
        proxy_pass http://localhost:6631/;
        proxy_set_header Host "127.0.0.1";
        proxy_set_header X-Real-IP $remote_addr;
        proxy_set_header X-Forward-For $proxy_add_x_forwarded_for;
    }
}

A couple of things to note here. First, we are listening on both 80, the standard HTTP port, and 631, the IPP port. And we are proxying both of them to port 6631 - the container’s IP port. We are also setting the Host header to localhost to fool the CUPS into thinking that it is a local request and allowing it through.

With this in place, you can add a printer using the method above, but using your domain name instead, and it all works great! And, you can access the CUPS web interface using printers.internal.domain without having to use the port.

Comments (0)

Interested in why you can't leave comments on my blog? Read the article about why comments are uniquely terrible and need to die. If you are still interested in commenting on this article, feel free to reach out to me directly and/or share it on social media.

Contact Me
Share It
nginx
So my long march away from Apache has been coming to an end, and I am finally migrating some of the more esoteric parts of my Apache setup to nginx. I have a side domain that I use to share files with some friends and, for ease of use, I have configured it with WebDAV so that they can simply mount it using Finder or Explorer, just like a shared drive. The problem? nginx’s WebDAV support … sucks. First, the ngx_http_dav_module module is not included in most distributions from the package managers. Even the ones that are, it’s usually pretty out of date. And, perhaps worst of all, it is a partial implementation of WebDAV. It doesn’t support some of the things (PROPFIND, OPTIONS, LOCK, and UNLOCK) that are needed to work with modern clients. So what can we do?
Read More
Home Assistant
One of the big missing pieces from my conversion to Home Assistant was Amazon Alexa integration. It wasn’t something we used a lot, but it was a nice to have. Especially for walking out a room and saying “Alexa, turn off the living room lights.” I had been putting it off a bit because the setup instructions are rather complex. But this weekend I found myself with a couple free hours and decided to work through it. It actually wasn’t as difficult as I expected it to be, but it is definitely not the type of thing a beginner or someone who does not have some programming and sysadmin background could accomplish. But in working through it, there was one thing that was an immediate red flag for me: the need to expose your Home Assistant installation to the Internet. It makes sense that you would need to do this - the Amazon mothership needs to send data to you to take an action after all. But exposing my entire home automation system to the Internet seems like a really, really bad idea. So in doing this, rather than expose port 443 on my router to the Internet and open my entire home to a Shodan attack, I decided to try something a bit different.
Read More
nginx
I have a well-documented obsession with pretty URLs, and this extends even to my internal home network. I have way too much stuff bouncing around in my head to have to remember IP addresses when a domain name is much easier to remember. LetsEncrypt launched to offer free SSL certificates to anyone, but the most crucial feature of their infrastructure, and one someone should have figured out before then, was scriptable automatically renewing certificates. Basically they validate you do in fact own the domain using automated methods, then issue you the new certificate. Thus, your certificates can be renewed on a schedule with no interaction from you. Traditionally, they have done this by placing a file in the webroot and looking for that file before issuing the certificate (see my earlier blog post about Zero Downtime nginx Letsencrypt Certificate Renewals Without the nginx Plugin for more detail about this.) But what happens when you want to issue an internal certificate? One for a service that is not accessible to the outside world, and thus, not visible using the webroot method? Well, it turns out there is a solution for that too!
Read More