Hacking a Z-Wave Door Sensor Into a Mailbox Sensor for Home Assistant

This is an old post!

This post is over 2 years old. Solutions referenced in this article may no longer be valid. Please consider this when utilizing any information referenced here.

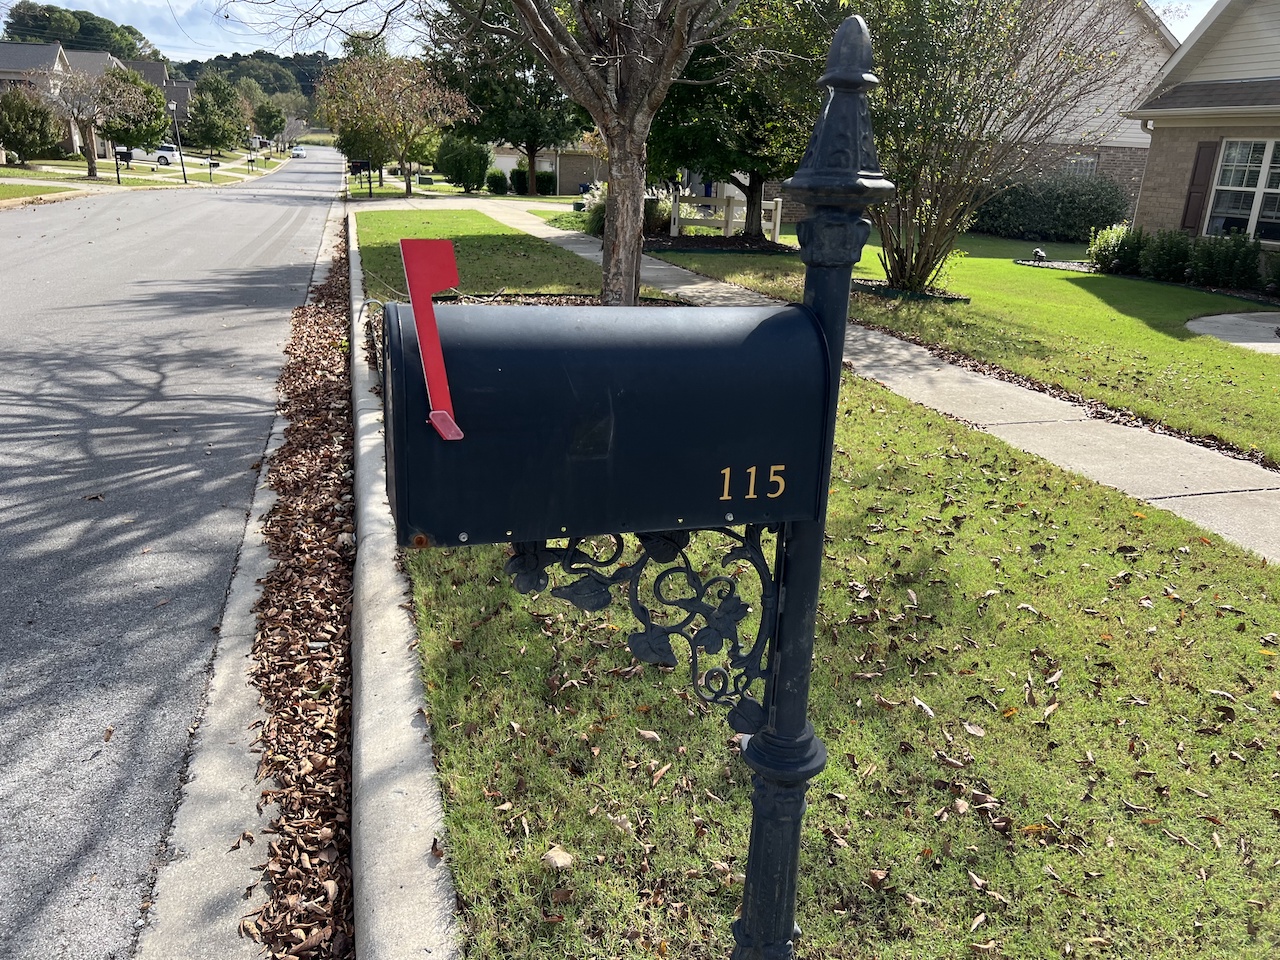
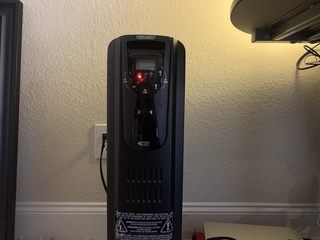
My mailbox - yes, my physical mailbox where I receive actual mail - is one of the things that has stubbornly resisted my attempts to automate it. I’ve tried a few different solutions. Third party proprietary chimes. A Z-Wave tilt sensor on the door. But nothing has worked long-term.

The two big problems are:

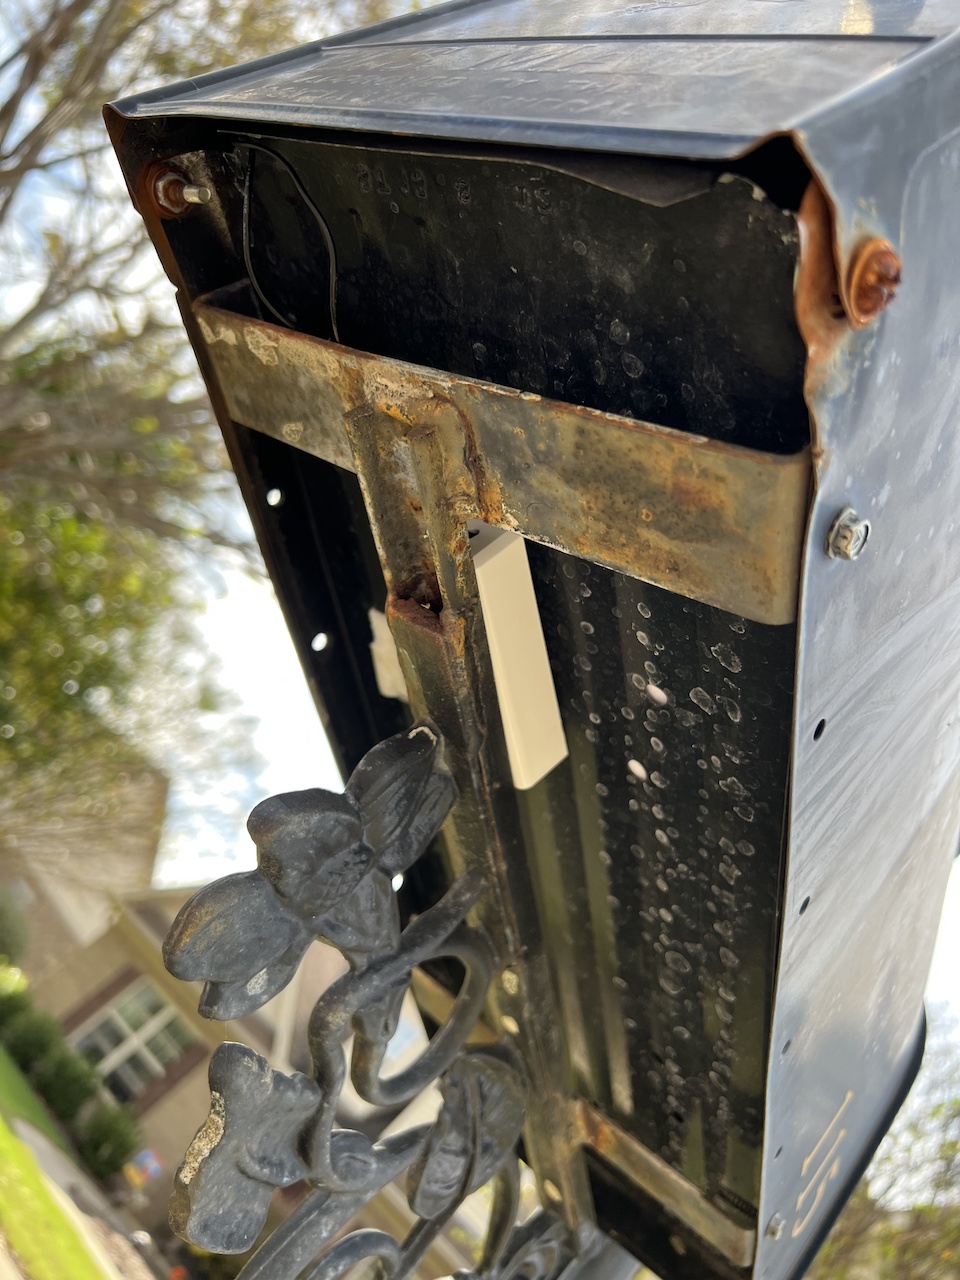
  • It’s a metal mailbox, so it’s a giant faraday cage when it comes to radio waves. You can’t actually have anything inside it.

  • Anything on the outside has to be subtle enough to not attract unwanted attention from neighborhood Karens with too much free time.

I first tried using a tilt sensor with a wire attached to it for the antenna. This sort of worked, but was very temperamental. Any storm would result in me receiving hundreds of push notifications from the tilt contacting and, eventually, it stopped working entirely.

I also thought about trying to use a standard door sensor. These have a magnetic reed switch inside them that contacts when a magnet gets near them. But they either have to be inside the mailbox (again, faraday cage) or outside where they are far too noticeable.

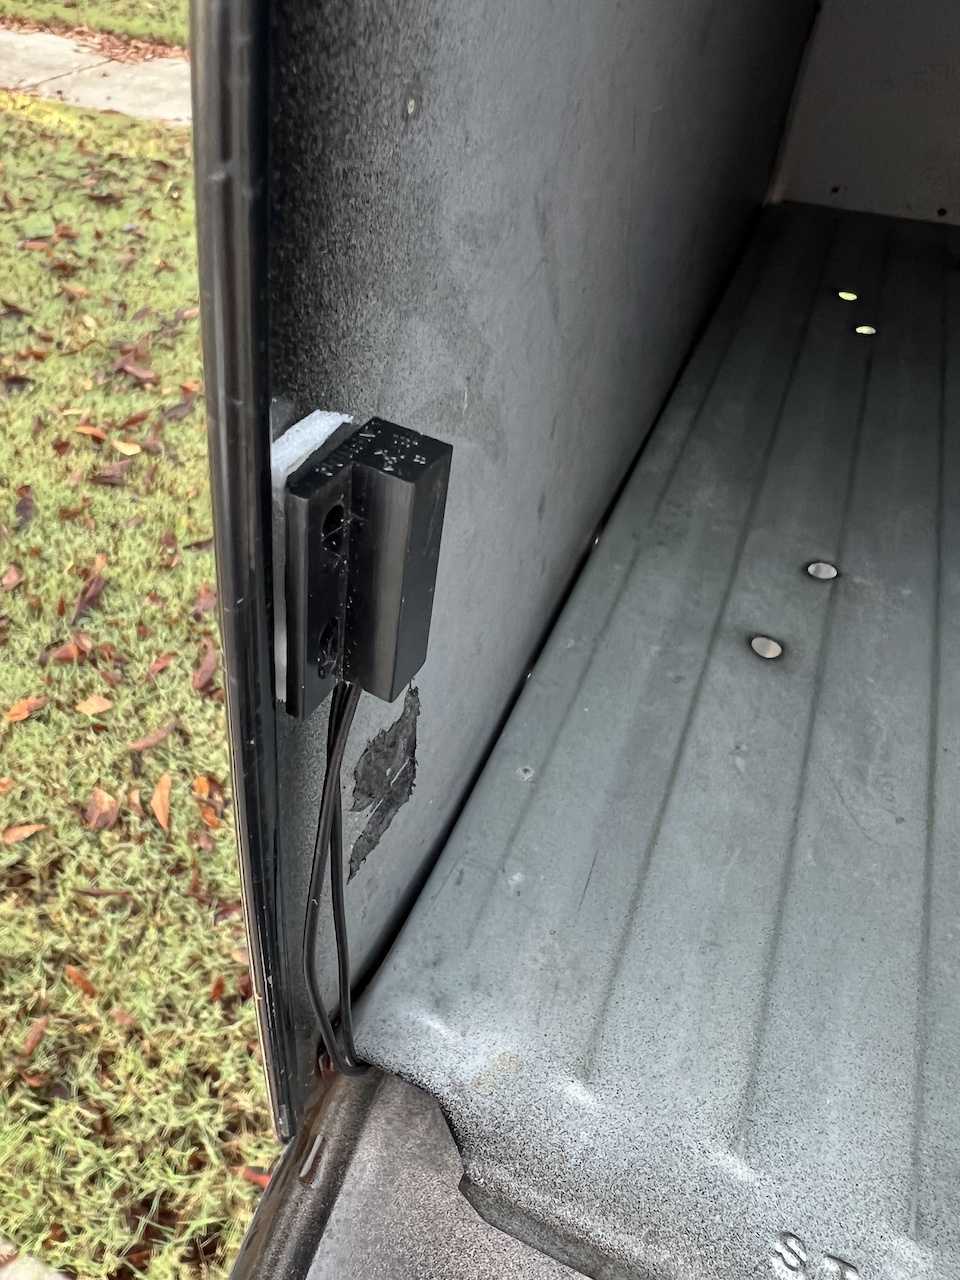
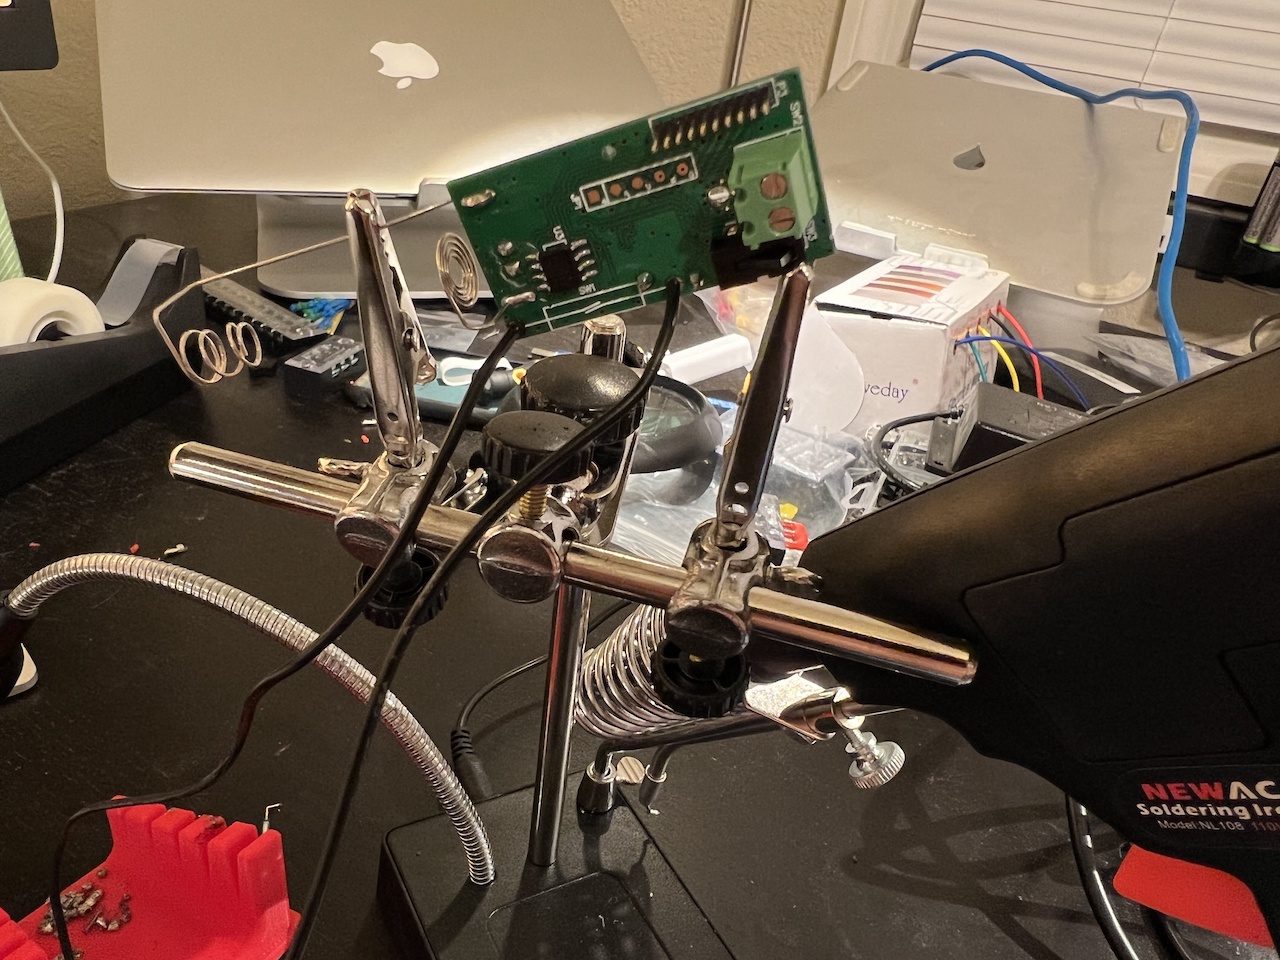
But then I thought, what if I modify an existing small Z-Wave door sensor to use an external contact switch, like the type you usually see in home security systems? That way the contact switch could be inside the mailbox, and the sensor outside. And it’s small enough to be unnoticeable unless you are specifically looking for it.

Hacking a Door Sensor

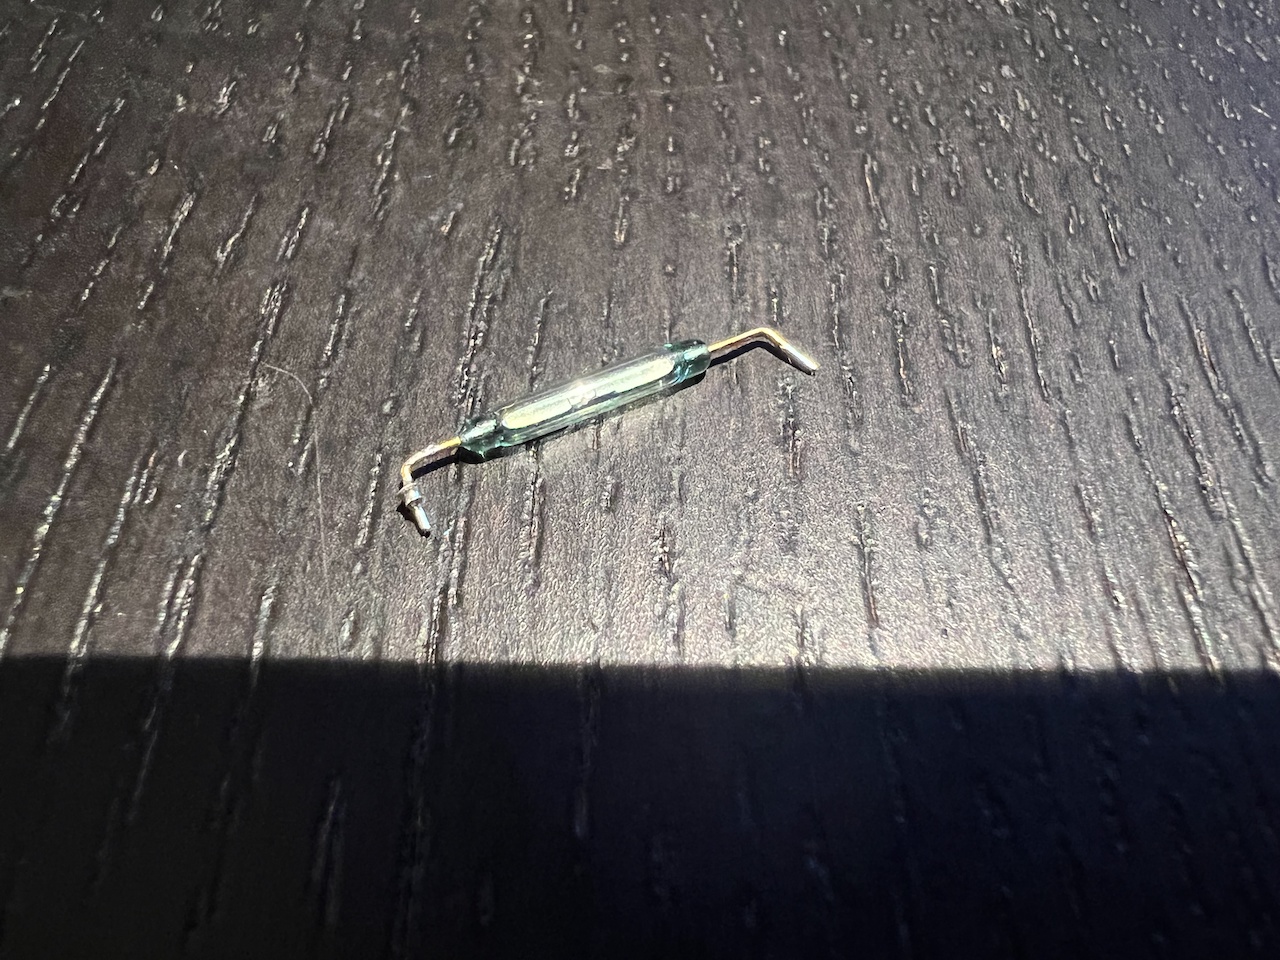
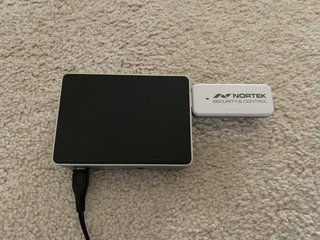
The sensor I picked was one I had floating around in a box. It’s a ZD2102-5 sensor sold by Vision Security. There are tons of these type sensors available online, so these same principles should apply to any of them. Once you take the cover off, you are presented with a battery and a very small PCB. The reed switch is easily found: it usually looks like a 1cm long glass tube with a couple of pieces of metal inside it.

The magnetic reed switch after it has been removed.

Magnetic reed switches come in two varieties, normally open and normally closed. The adhere, obviously, to whether the circuit is open and closed when the switch isn’t triggered. For these Z-Wave door sensors they are normally open, so you will want to buy the normally open contact sensors. These are the ones I used.

Start by removing the battery and the board from the enclosure. Be careful, on mine, there was a small, barely noticeable screw that needed to be removed to free the board. Then, drill a small hole through the top of the sensor enclosure. This will allow our wires to leave the enclosure, so go ahead and feed the wires through the hole.

Using a soldering iron, I carefully desoldered the reed switch from the PCB. Using a pair of tweezers and helping hands is very helpful here. I used the hands to hold the PCB and very gently applied the soldering iron to the back of the board, just until the solder loosened enough to gently tug the reed switch off. I did it one leg at a time.

Then, very gently, I heated the remaining solder on the back of the PCB and applied the wire from the sensor until it popped through the hole. Removing the iron will cause the solder to almost instantly harden, so this takes a little finesse. I did this for both sides of the contact. It would also be a good idea to put a small drop or caulk on the hole to keep any water from getting inside the enclosure.

Then, I reassembled the board back into the enclosure and put the battery back in. The light came on, which I interpreted to be good sign that I hadn’t killed it! From there, I paired it with Home Assistant like any other sensor and, what would you know, it actually worked!

One thing I noticed is that the effective sensor distance that would trigger the magnetic sensor was on the matter of a few millimeters. Not more than one centimeter. But using the stock magnet that came with the sensor resulted in a much larger effective distance, on the order of 3-4 centimeters. I decided to use that instead.

Finally, I used some double-sided tape to tape the sensors inside the mailbox, and the enclosure outside the mailbox. I put the enclosure on the underside of the mailbox, where it is shielded from both most of the weather and from prying eyes.

The invisible mailbox sensor.
Inside.
Inside.
Underneath, showing the sensor enclosure nestled up under the mailbox.

So far this has worked brilliantly. From here you can use Home Assistant to make any kind of automation you want. I scared the hell out of my wife by having it play the old AOL “You’ve Got Mail!” sound over Sonos, but she didn’t like that so right now it just sends a push notification to our phones. This way we don’t have to walk outside to the mailbox to check it.

Push notification sent by arriving mail.

Comments (0)

Interested in why you can't leave comments on my blog? Read the article about why comments are uniquely terrible and need to die. If you are still interested in commenting on this article, feel free to reach out to me directly and/or share it on social media.

Contact Me
Share It
Hardware
So here we are in October. COVID-19 is still with us and I am still working from home. Meanwhile, summer has quickly changed to autumn. The leaves are falling as are the temperatures. My house was the model home for our neighborhood, and what would have been the garage was finished in and used as a sales office. So when we bought the house, I was like, perfect, a perfect spot for an office! But the problem is that, because it was a garage, it’s not connected to the house’s HVAC system. In the summer there is a mini-split that keeps the whole area cool. But it’s kind of loud. However, I do have some of these DeLonghi Oil Radiators to use in the winter which provide abundant, silent heat without using very much power. But the downside is that they take awhile to warm up. Wouldn’t it be cool if I could have them turn on an hour early and “pre-warm” the office? Well, to get the obvious part out of the way, yes, there is timer functionality, but that is not nearly as cool as tying it into the rest of my smart home. But it has a remote. What if I could find a way to use Home Assistant to send IR commands to the heater? Turns out you can!
Read More
Home Assistant
One of the big missing pieces from my conversion to Home Assistant was Amazon Alexa integration. It wasn’t something we used a lot, but it was a nice to have. Especially for walking out a room and saying “Alexa, turn off the living room lights.” I had been putting it off a bit because the setup instructions are rather complex. But this weekend I found myself with a couple free hours and decided to work through it. It actually wasn’t as difficult as I expected it to be, but it is definitely not the type of thing a beginner or someone who does not have some programming and sysadmin background could accomplish. But in working through it, there was one thing that was an immediate red flag for me: the need to expose your Home Assistant installation to the Internet. It makes sense that you would need to do this - the Amazon mothership needs to send data to you to take an action after all. But exposing my entire home automation system to the Internet seems like a really, really bad idea. So in doing this, rather than expose port 443 on my router to the Internet and open my entire home to a Shodan attack, I decided to try something a bit different.
Read More
Home Assistant
I have been a SmartThings user for many years. The orginal reason was that, when we bought our current house in 2012, I wanted to turn the eave lights on at sunset and off a few hours later. After a short attempt to use Wifi-based Wemo switches, I settled on SmartThings and GE Z-Wave switches. I was so happy with it that I started putting them in more places. I added Kwikset SmartCode keypad locks and door sensors. I added more switches, like to turn on the garage overhead lights when the doors opened. I added sensors to monitor the temperature in the closet where I keep my server. And for many years this setup worked great. But over the last year, and especially since Samsung acquired SmartThings, I have become increasingly disillusioned with the SmartThings ecosystem. This last week, my disillusionment and frustration finally boiled over, and I migrated to a new platform. So why did I abandon SmartThings?
Read More